Growth Cycle Stages
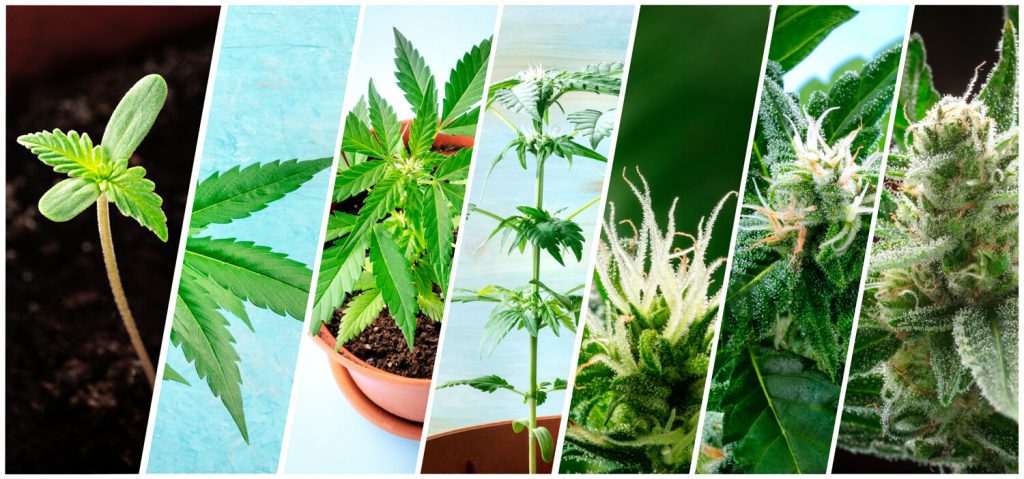
Most commonly, the terms “veg” and “flower” are used to represent the stages that a cannabis plant undergoes through its life-cycle, but there are nuanced differences in terminology that vary from grower to grower or product to product.
To have more precise language and understanding, we’ve described each of these stages for both photo-period and auto flower plants, as well as identified small differences between stages for seeds and clones.
THE LANGUAGE WE’VE ADOPTED FOR GROWTH CYCLE STAGES
At ETHOS, we recognize the following growth cycle stages of our plants:
Photo Period
- Veg
- Seeds
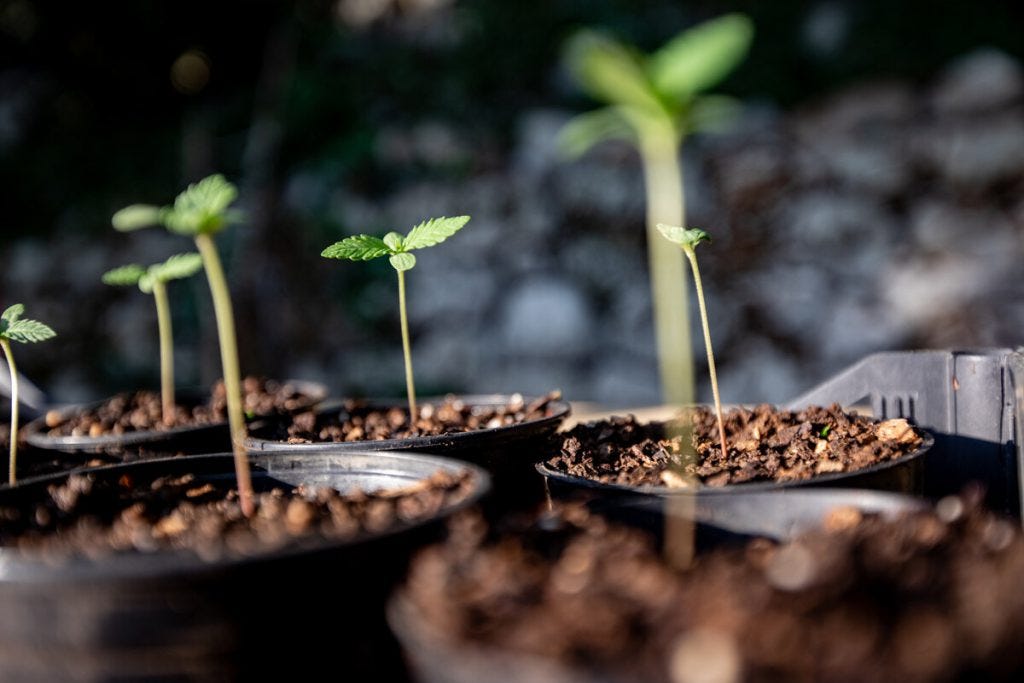
- Seedling (Rooting Stage)
- Low Intensity uMole
- Medium-High Intensity uMole
- Maximum Intensity uMole
- Clones
- Clone (Rooting Stage)
- Low Intensity uMole
- Medium-High Intensity uMole
- Maximum Intensity uMole
- Seeds
- Flower
- 1st Trimester: Pistiling
- 2nd Trimester: Swelling
- 3rd Trimester: Ripening
Autoflower
- Veg
- Seedling
- Stacking
- Flower
- Swelling
- Ripening
The reason for the difference in clone and seed veg cycles is due to a seedling’s physical inability of flowering during the first 3-4 weeks of its life, while a clone can be flowered immediately.
This changes environmental variables, specifically with seedlings’ tolerance and hunger for more intense lighting. Because clones are able to flower earlier, they can be susceptible to a pre-flower state if they are not receiving adequate uMole.
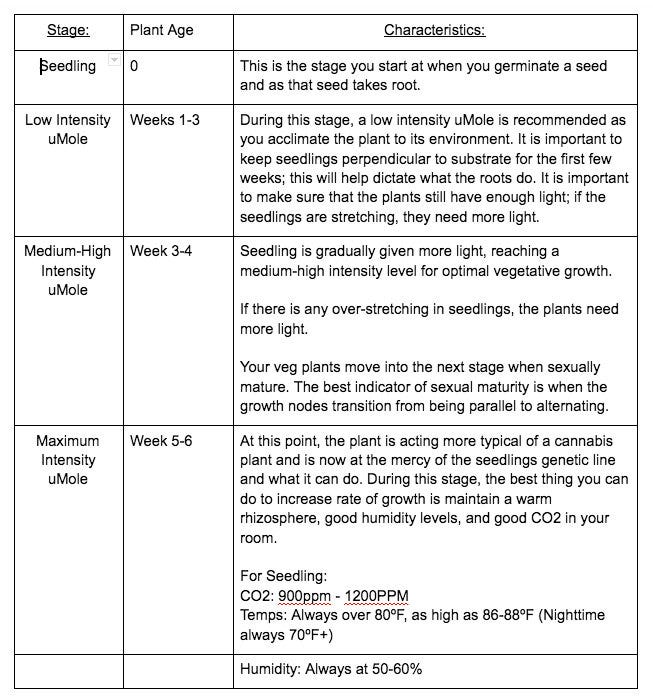
In the following tables, you’ll find more information about each growth stage. The stages are the same for seeds and clones, the plants just progress through them at different rates.
PHOTOPERIOD VEGETATIVE GROWTH STAGES
Seeds:
Clones:
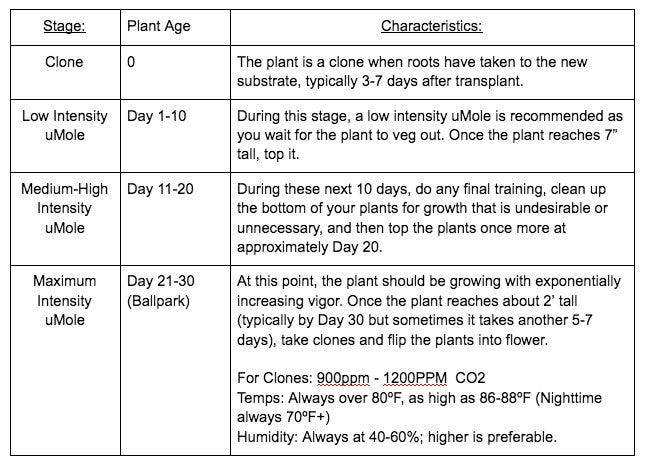
A note on vegetative growth states for clones:
I like to follow a 7-10-10 regimen, that’s 7”, 10 days, 10 days.
The first 7-10 days of a clone’s life it is primarily focused on rooting; you’re waiting for the rhizosphere to develop.
For us, a plant 10-14 days after transplant will typically start to show significant growth. These plants are often between 6-8” tall. Once they have put out a strong set of fan leaves, we top and remove older/original growth.
During the next few weeks, you’ll top the plants again (10 days after you topped them before), wait another 10 days (sometimes 15 for slower varieties) and flip the plant into flower.
I find that any more than 5 weeks in veg leads to problems unless training for specific grow situations. Some of my best grows are done by doing only a 4-week veg before I flower; this creates much more efficient plants.
PHOTOPERIOD FLOWER GROWTH STAGES
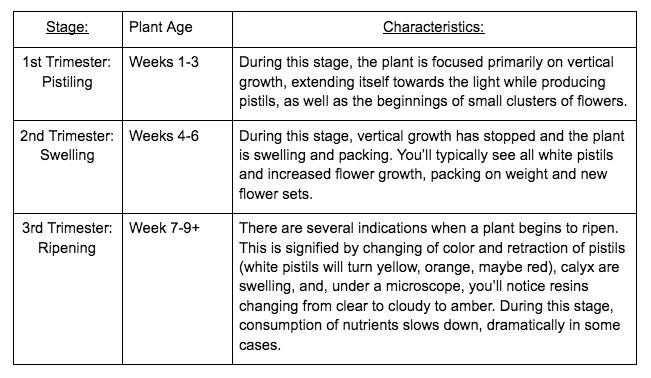
A note on flower stages:
In indoor grows, flowering for a photo period plant begins when the light cycles are changed.
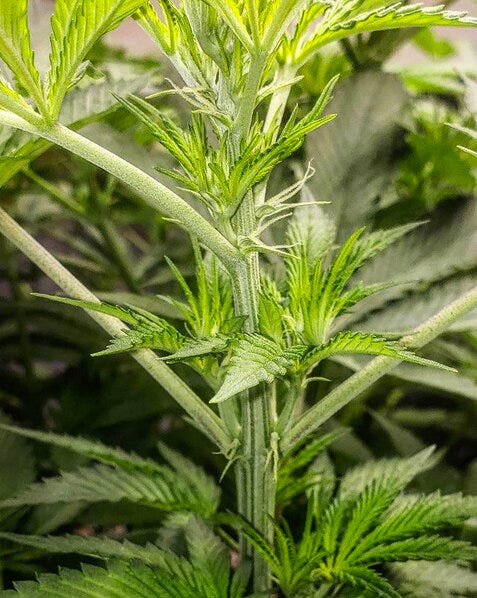
In outdoor grows, the beginning of flower can typically be determined by the time when pre-flower/flower sets begin developing.
AUTOFLOWER GROWTH STAGES
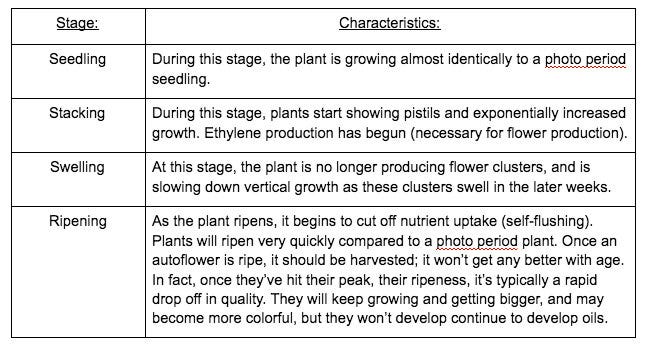
A note on flushing and autoflowers:
About a week before ripening, typically you will start noticing significant nutrient deficiencies regardless of the feeding schedule. If you let the plant continue, the nutrient deficiencies will become more pronounced.
—
As with all timelines and growth stages, keep in mind that these guidelines are a good ballpark for typical plants.
There are some plants that veg slower or faster than others depending on the genetics and variables in the growing environment such as lighting, VPD, and substrate used, which will all play a factor in this timeline.
Remember that these guidelines are for typical commercial growing where adhering to plant numbers, not sea of green setups.
Subscribe to our Substack to receive new content automatically
This article is featured in Vol. 1 of The ETHOS Magazine.
Grab a collector's edition of the ETHOS magazine in print HERE.